Kubesphere 설치
[참조]https://kubesphere.io/docs/v3.3/installing-on-kubernetes/hosted-kubernetes/install-kubesphere-on-eks/
kubectl 설정
EKS에 Kubesphere를 설치하는 것이기 때문에 다음 설정을 반드시 해주어야 한다. 자세한 내용은 이전 포스트 참조
AWS CLI 자격 증명 설정
aws configure
kubeconfig 파일 생성
aws eks --region ap-northeast-2 update-kubeconfig --name <클러스터 이름>
Kubesphere 설치
설치 명령어
kubectl apply -f https://github.com/kubesphere/ks-installer/releases/download/v3.3.1/kubesphere-installer.yaml
kubectl apply -f https://github.com/kubesphere/ks-installer/releases/download/v3.3.1/cluster-configuration.yaml
설치 로그 확인
kubectl logs -n kubesphere-system $(kubectl get pod -n kubesphere-system -l 'app in (ks-install, ks-installer)' -o jsonpath='{.items[0].metadata.name}') -f
Kubesphere Console 접근
먼저 서비스들이 잘 생성되었는지 확인한다.
kubectl get svc -n kubesphere-system
Default 설정으로 ks-console 서비스는 NodePort 타입으로 설정되어 있는데 이를 LoadBalancer로 수정한다.
kubectl edit svc/ks-console -n kubesphere-system
  selector:
    app: ks-console
    tier: frontend
  sessionAffinity: None
  type: LoadBalancer
다시 서비스를 확인해보면
kubectl get svc -n kubesphere-system

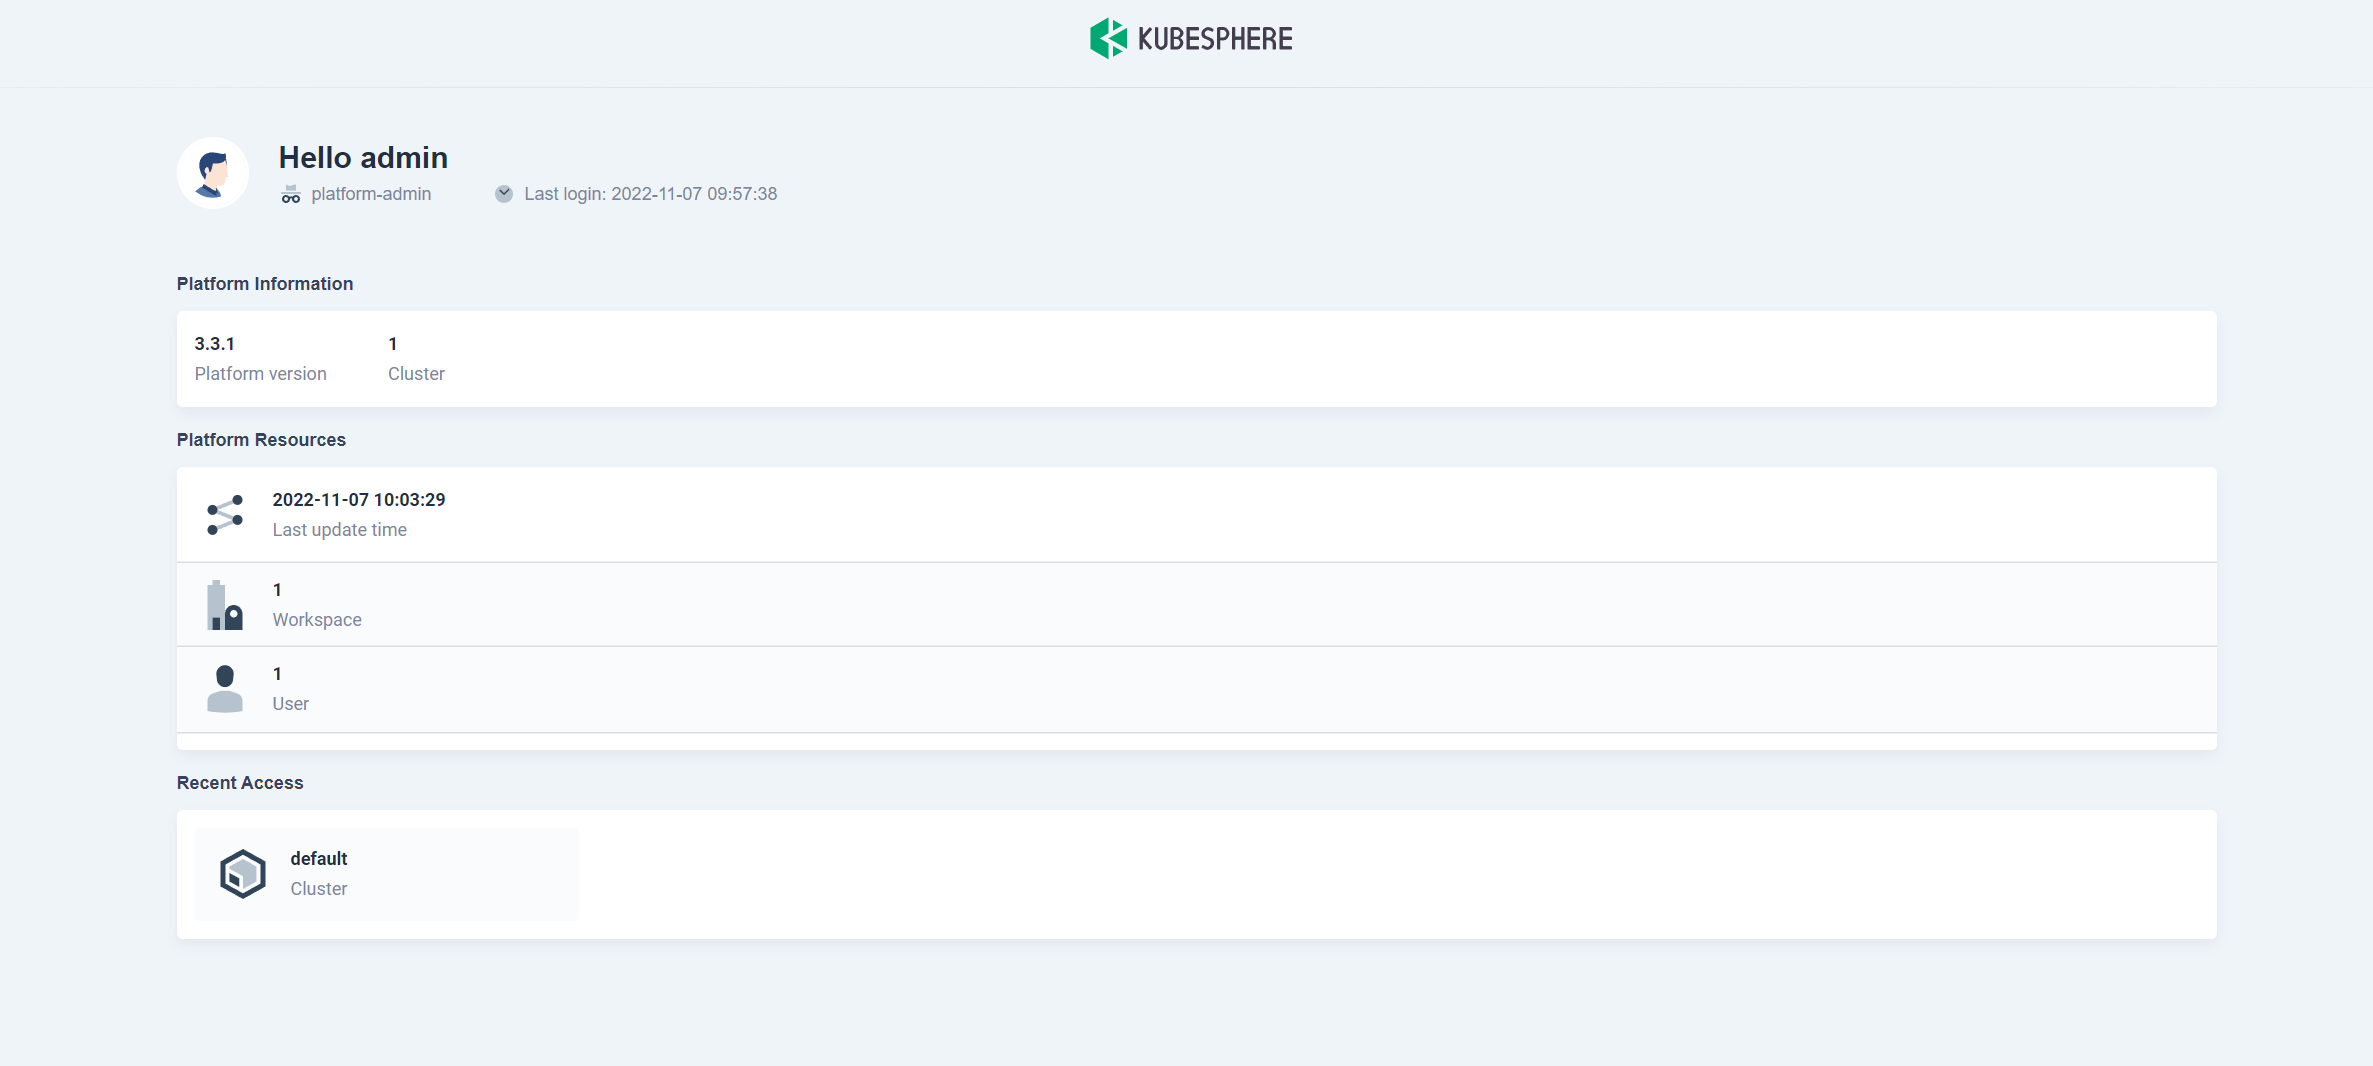
External-IP에서 주소를 확인해서 접속하면 성공
최초 접속 계졍 및 패스워드
- Account: admin
- Password: P@88w0rd

[참조]https://kubesphere.io/docs/v3.3/installing-on-kubernetes/hosted-kubernetes/install-kubesphere-on-eks/
끝!