Kubesphere App 템플릿을 통한 배포
[참조]https://kubesphere.io/docs/v3.3/project-user-guide/application/deploy-app-from-template/
App Store 활성화
Admin계정으로 로그인- Cluster Management로 이동 후 CRDs 탭 클릭
clusterconfiguration검색 후 클릭ks-installer우측의⁝를 클릭 후 Edit YAML 클릭아래와 같이 해당 부분을 찾아
false에서true로 수정하여 활성화openpitrix: store: enabled: true # Change "false" to "true".EKS를 이용해 쿠버네티스 클러스터를 구현했다면 아래와 같이 다시 NodePort를 LoadBalancer로 수정
kubectl edit svc/ks-console -n kubesphere-systemselector: app: ks-console tier: frontend sessionAffinity: None type: LoadBalancer적용 상황 로그 확인
kubectl logs -n kubesphere-system $(kubectl get pod -n kubesphere-system -l 'app in (ks-install, ks-installer)' -o jsonpath='{.items[0].metadata.name}') -fExternal-IP가 바뀔 수 있기 때문에 다음 명령어로 확인
kubectl get svc -n kubesphere-system
결과 확인

좌측 상단에 App Store가 생성됨
Grafana 앱 배포
Step 1: App Repository 추가
ws-admin계정으로 로그인- App Management 아래 App Repositories 탭 클릭
- Add 버튼 클릭
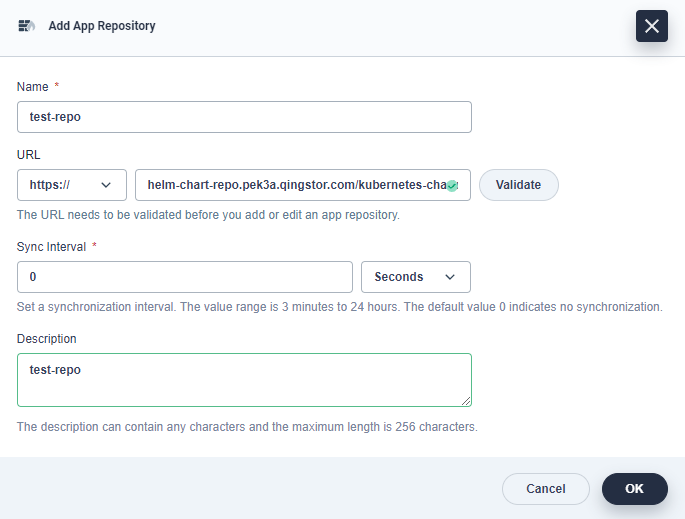
- 하기 내용과 같이 작성 후 생성
- 이름: test-repo
- URL: https://helm-chart-repo.pek3a.qingstor.com/kubernetes-charts/
Step 2: App 템플릿을 통해 Grafana 배포
project-regular계정으로 로그인- Application Workloads 아래 Apps 탭 클릭
- Create 버튼 클릭 후 From App Templates 선택
- 위에서 생성한
test-repo를 선택 후Grafana검색 - 설치
Step 3: Grafana 서비스 오픈
- Application Worloads 아래 Services 탭 클릭
Grafana우측⁝를 클릭 후 Edit YAML 클릭- yaml 파일을 아래와 같이 NodePort에서 LoadBalancer로 수정
selector: app.kubernetes.io/instance: grafana-kd6a7n app.kubernetes.io/name: grafana clusterIP: 100.2.3.4 clusterIPs: - 100.2.3.4 type: LoadBalancer - (옵션) NodePort로 오픈하려면
Grafana우측⁝를 클릭 후 Edit External Access 클릭 후 NodePort 선택
Step 4: Grafana 접속
- Configuration 아래 Secrets 탭 클릭
- app name과 동일한 항목 클릭
- 눈 모양 을 클릭해서 username/password 확인
- ExternalIP로 접속해서 확인한 username/password 입력 후 접속
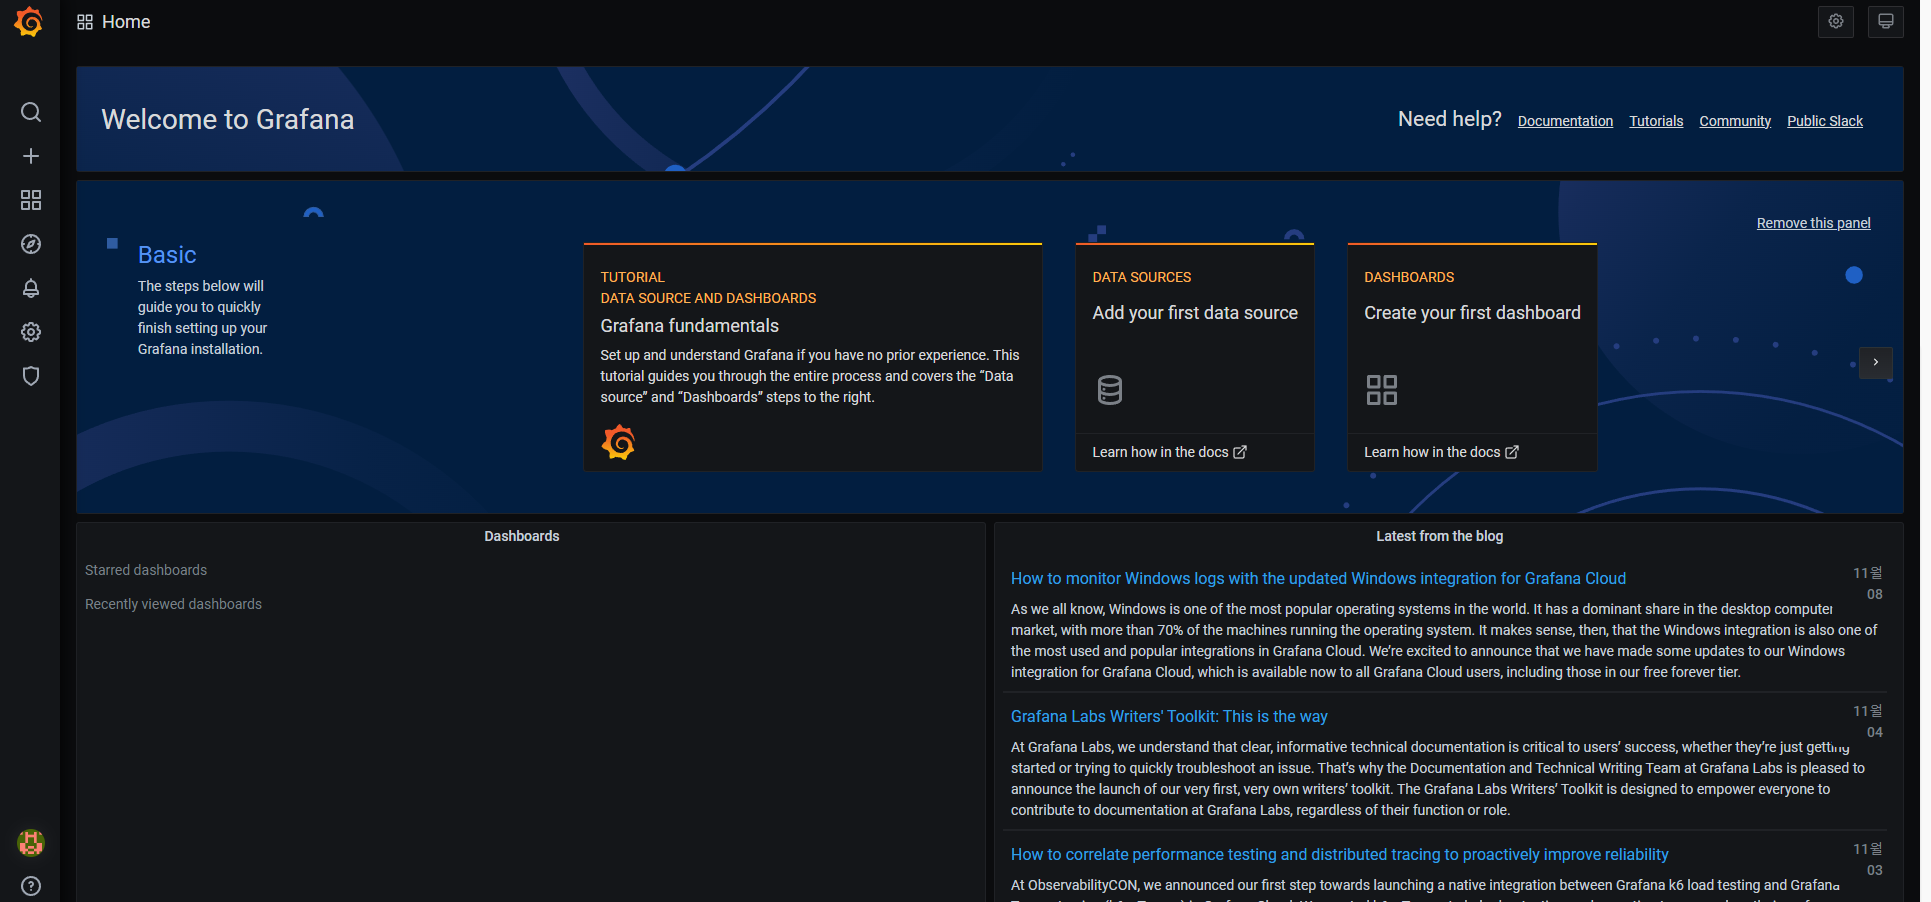
접속 결과
[참조]https://kubesphere.io/docs/v3.3/project-user-guide/application/deploy-app-from-template/
끝!