Kubesphere Helm 로컬 레포지터리 배포
[참조]https://kubesphere.com.cn/en/docs/v3.3/application-store/app-lifecycle-management/#step-2-upload-and-submit-application
Helm 설치
Kubesphere를 설치했다면 Helm은 자동으로 배포가 된다. 만약 설치되지 않았다면 Helm을 먼저 설치한다.
Local Repository 생성
폴더 생성
mkdir helm-repo
생성된 폴더로 잡업 위치 이동
cd helm-repo
App 생성
생성 명령어
helm create nginx
tree 확인
tree nginx/
nginx/
├── charts
├── Chart.yaml
├── templates
│   ├── deployment.yaml
│   ├── _helpers.tpl
│   ├── ingress.yaml
│   ├── NOTES.txt
│   └── service.yaml
└── values.yaml
자동으로 yaml 파일들이 생성된다.
템플릿 수정
간단히 nginx를 띄우기 위해 다음 yaml 파일들을 수정한다.
deployment.yaml
apiVersion: apps/v1
kind: Deployment
metadata:
  name: {{ .Release.Name
  namespace: {{ .Release.Namespace
  labels:
    app: {{ .Release.Name
spec:
  replicas: 2
  selector:
    matchLabels:
      app: nginx-test
  template:
    metadata:
      labels:
        app: nginx-test
    spec:
      containers:
        - name: nginx
          image: {{ .Values.image
          ports:
            - containerPort: 80
service.yaml
apiVersion: v1
kind: Service
metadata:
  name: {{ .Release.Name
  namespace: {{ .Release.Namespace
spec:
  selector:
    app: nginx-test
  ports:
  - port: 80
    targetPort: 80
  type: LoadBalancer
values.yaml
해당 부분만 수정한다.
...
image: nginx:latest
...
Github
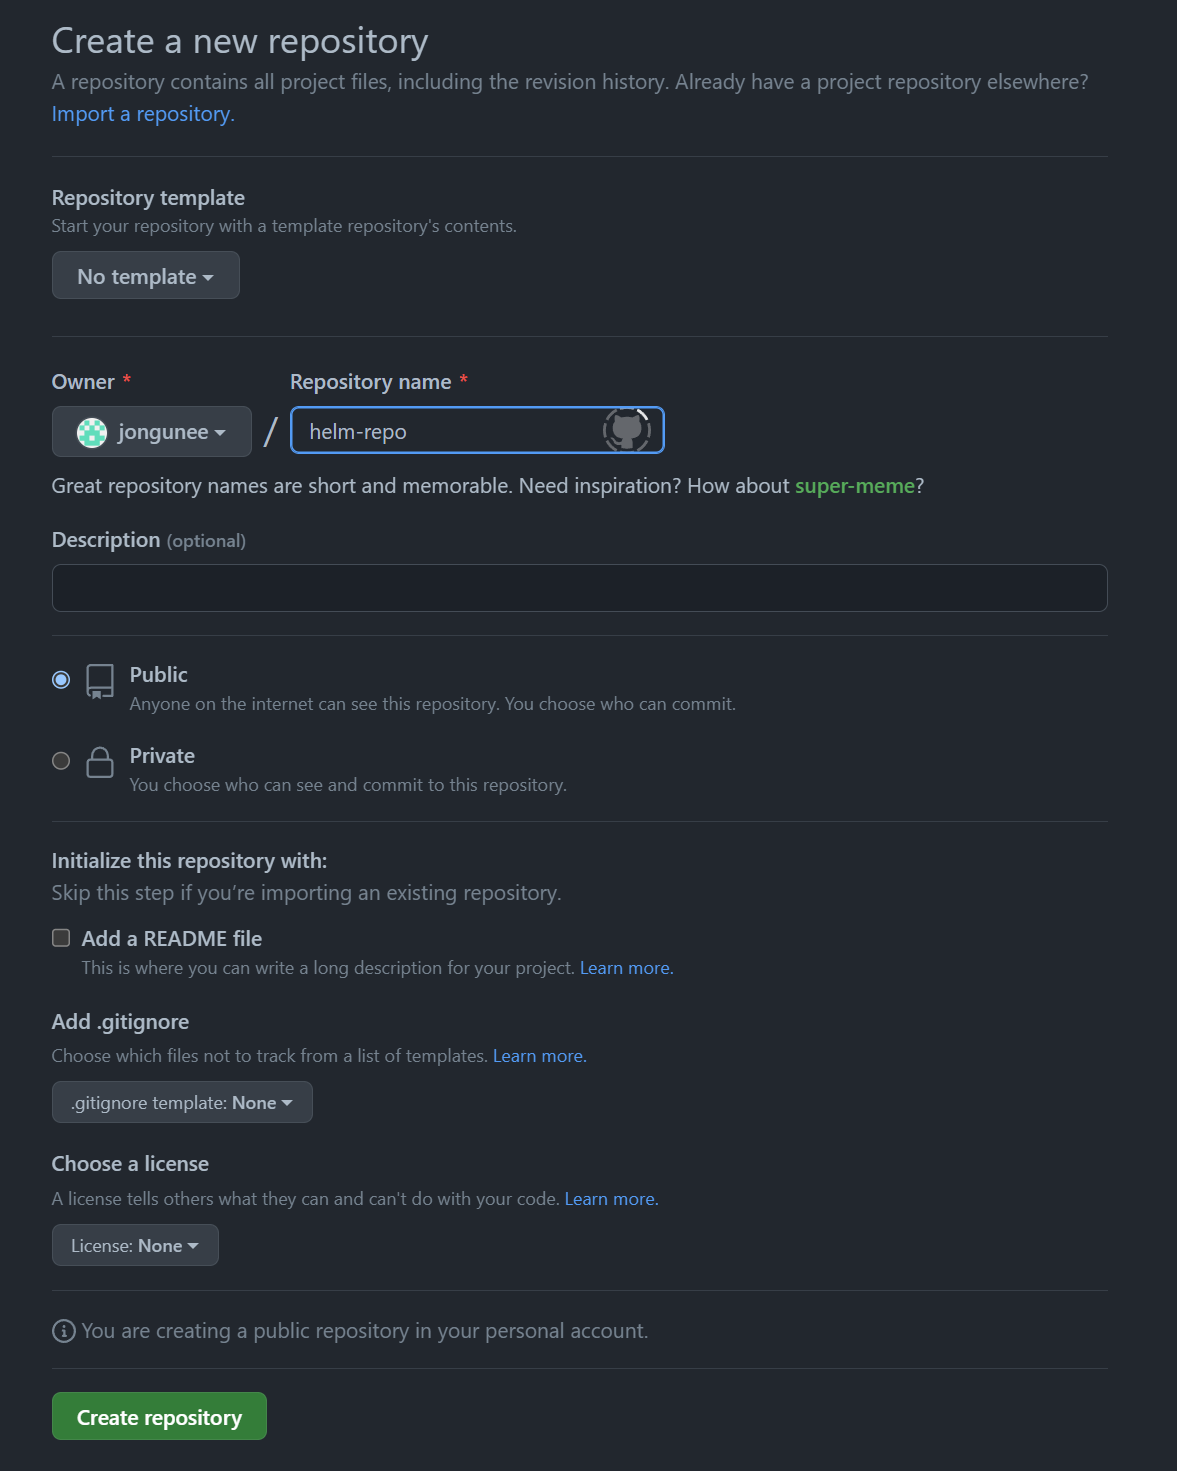
Github Repository 생성
패키지 생성
helm package <위 생성한 파일 경로>
결과로 .tgz 파일이 생성이 된다.
helm 초기화
helm repo index .
결과로 index.yaml 파일이 생성되며 차트 파일들 관리가 어떻게 되는지 확인이 가능하다.
이후 Github으로 파일 모두 Commit한다.
역할 및 사용자 생성
역할 생성
- admin 계정으로 로그인
- 좌측 상단 Platform 버튼 클릭
- Access Control 클릭
- Platform Roles 탭에서 Create 버튼 클릭
이름을
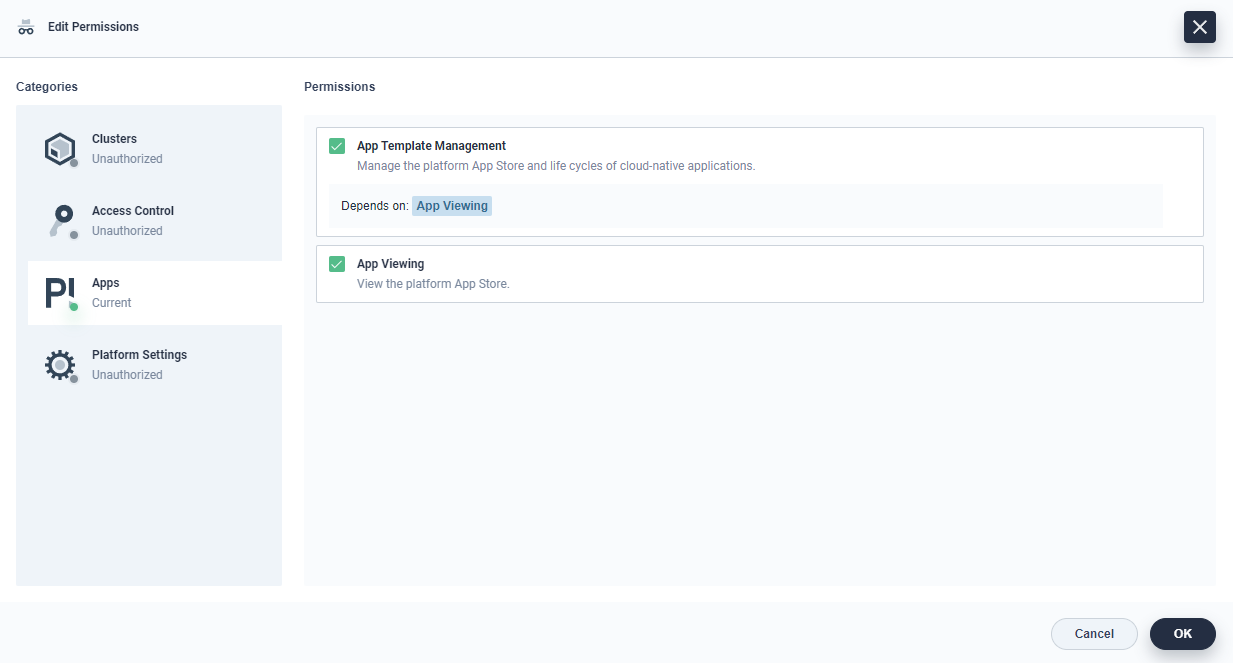
app-review설정 후 Edit Permissions 버튼 클릭
App Template Management와 App Viewing을 활성화 시켜준 뒤 OK 버튼 클릭
사용자 생성

위에서 생성한 역할을 하는 `reviewer를 생성한다.
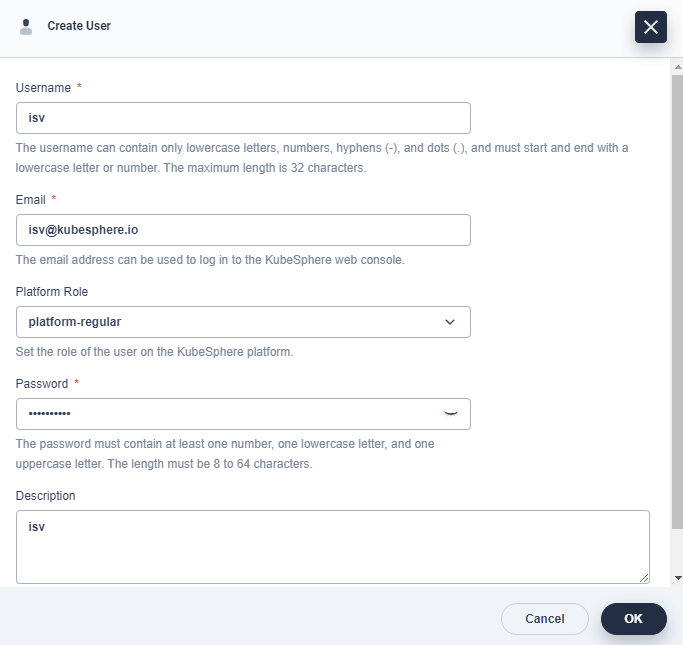
동일한 방법으로 platform-regular 역할을 하는 isv를 생성한다.
Workspace 초대
- Workspaces 탭에서 demo-workspace 선택
- Workspace Settings 아래 Workspace Members 탭 클릭
- Invite 버튼 클릭
위에 생성한 두 사용자에
workspace-admin역할 부여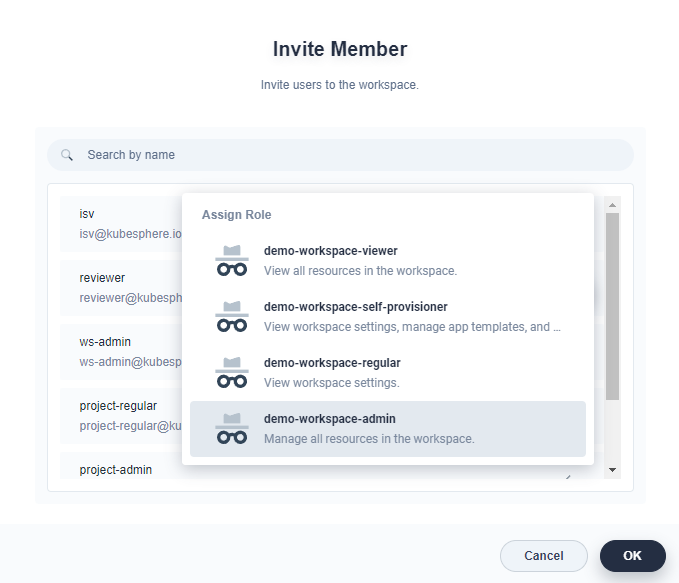
App 업로드
- App Management 아래 App Templates 탭 클릭
- Create 버튼 클릭 후 Upload 버튼 클릭
위에서 생성한 패키지인
.tgz파일을 업로드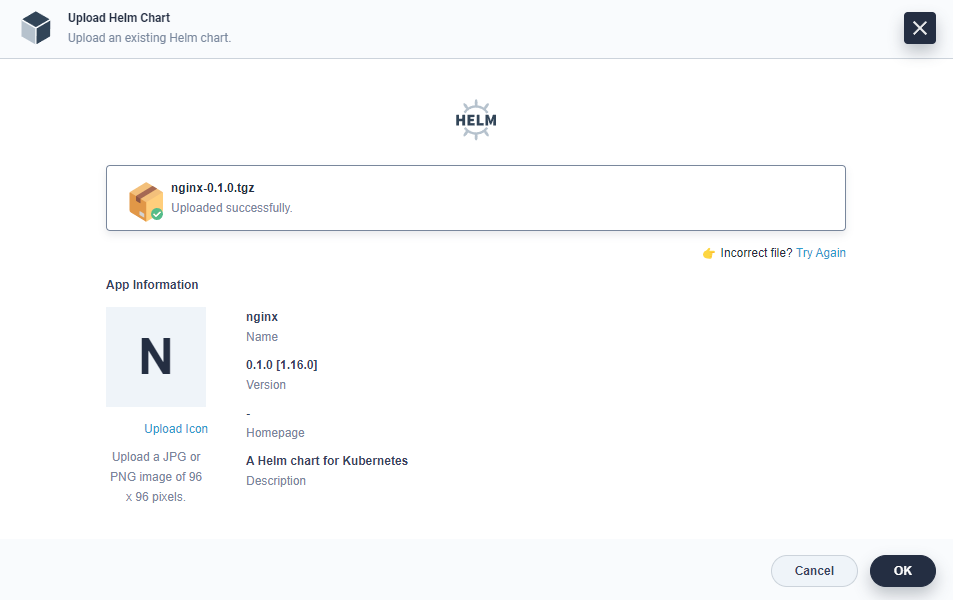
App Store에서 승인이 되지 않아 아직 Unreleased 상태이다.

App 배포
- Upload 된 App 클릭
- More - Install 클릭
이름 및 Workspace 지정
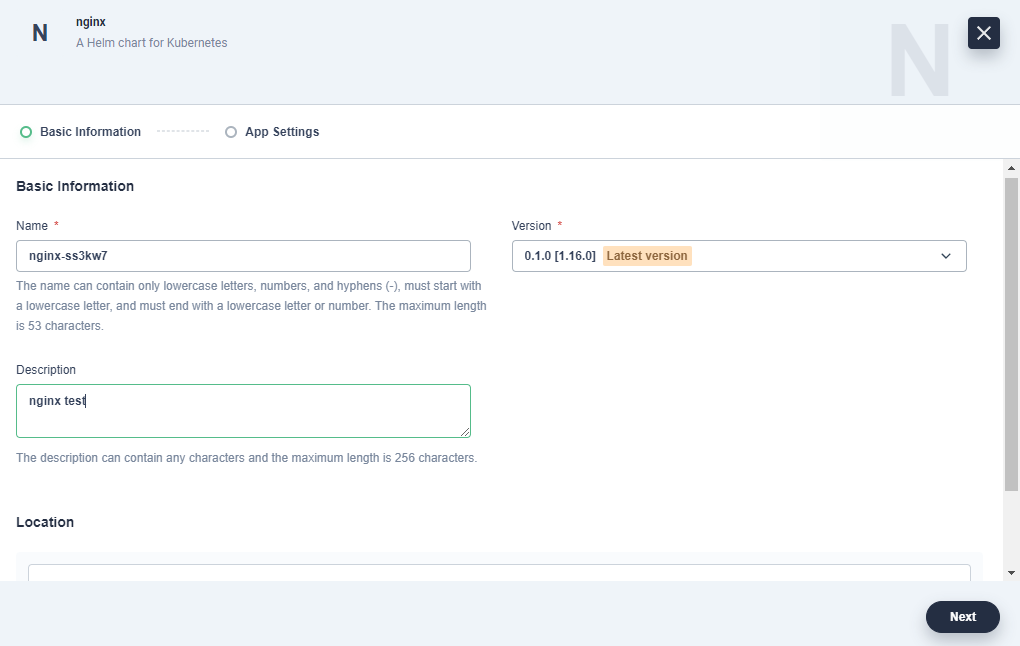
- replicaCount 2로 설정하고 Install
배포된 것 확인

App 접속
- Projects 탭으로 들어가
demo-project클릭 - Application Workloads 아래 Services 탭 클릭
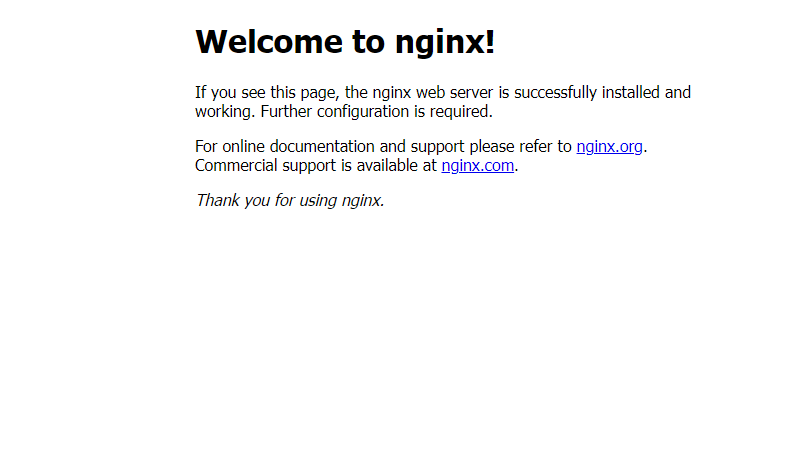
- 외부 접속 IP를 확인하고 접속
접속 결과
[참조]https://kubesphere.com.cn/en/docs/v3.3/application-store/app-lifecycle-management/#step-2-upload-and-submit-application
끝!